Getting Started with Dext Prepare for Business

New to Dext Prepare? Worry not: our Help Centre is filled with information and step-by-step guides to ensure your account is set-up correctly and you make the most out of Dext!
It’s always better to start with basics - this article will guide you through the process of:
- Connecting your Accounting software
- Submitting Items
- Editing, Publishing and Exporting
- Adding Users
- Expense Reports
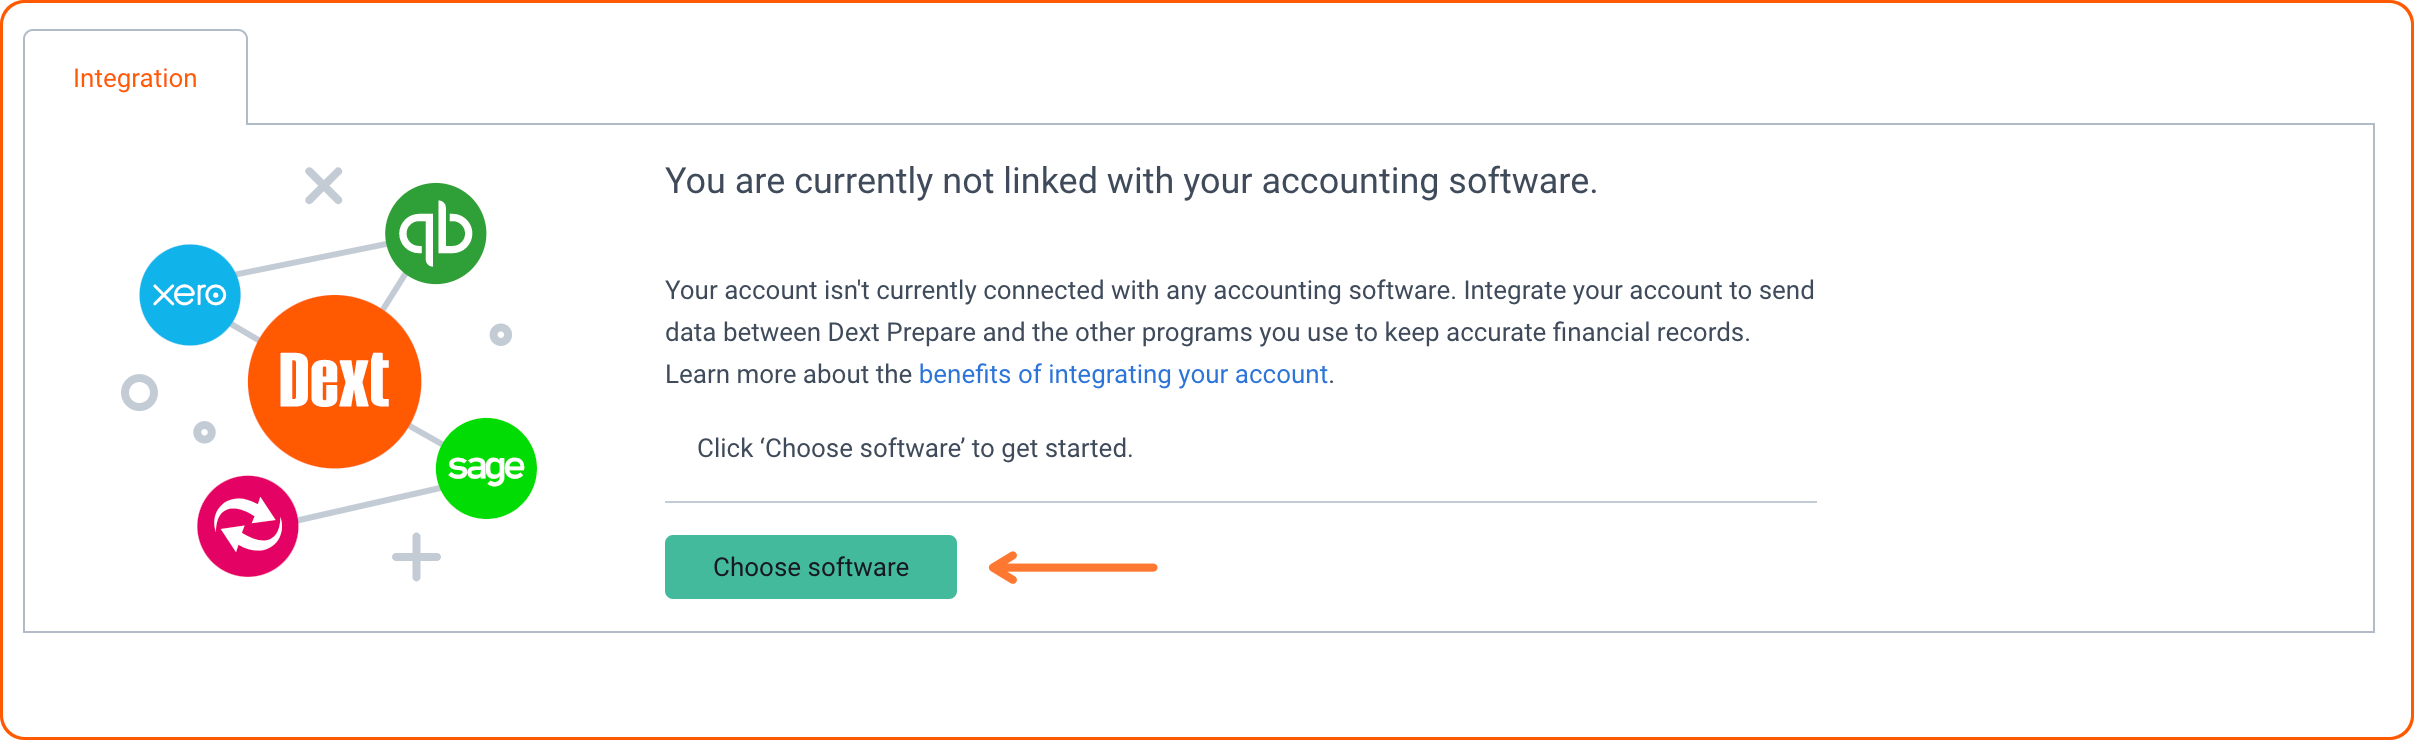
Connecting your Accounting Software
Whether you use Xero, QuickBooks, Sage or another accounting software, Dext Prepare easily integrates and collaboratively works with it. Once connected, the two systems will share your chart of accounts and all documents will be extracted - so they can then be published with a format that matches your existing financial records.
You can connect your accounting software by:
- Navigating to Connections.
- Selecting the Integration section.
- Clicking Choose Software.
- Follow the on-screen instructions to complete the integration process.
For more details, read more about why it’s beneficial to link Dext to an accounting software and the list of integrations available, click here.
Submitting your Items
You can easily submit your items whilst logged in on the web app through your unique email-in address and on the go using the mobile app.
You can also connect to thousands of suppliers and automatically pull through your invoices using invoice fetch.
Once that’s done, you can start submitting your items by logging into the web app > clicking Add Documents > selecting one of the upload options available.

There are many ways you can submit items to Prepare. If you want to explore them in detail, take a look at the following info on direct uploads , emailing documents and using the mobile app.
Editing, Publishing and Exporting
Now you’ve submitted your documents to your account, let’s look at what to do next:
- Edit or add to the information extracted from your documents by clicking on the item in your inbox.
- Once you’re happy with the information added to your document, choose where in the integrated software it will be sent to using the Publish to field in the item detail page.
- Click the Publish button to publish it to your accounting software.
All documents will still be visible in Dext within the Archive section.
Did you know: You can set up Auto-Publishing for some of your regular suppliers so you know longer have to publish these manually?Take a look at this article to find out how.
Don’t have an accounting software to connect with? Export your documents instead by:
- Selecting each of the items you'd like to export using the checkboxes on the left-hand side of the page.
- Click Export.
- Choose whether you'd like to export your items as a CSV file, PDF or a ZIP file.
Adding Users
Do you have other team members in your business you’d like to give access to Prepare? Easily add them as a user to your account by:
- Clicking the Manage section on the sidebar menu and then My Team.
- Select the green Add a user button.
- Complete the details for the person you want to invite.
- Confirm the user role and edit their user privileges.
- Choose whether to send an invitation to the new user via email or text message.
- Complete the process by clicking on the Add user button in green.
Want to know more? Take a look at this article for more information on User Privileges.
Expense Reports
You can create expense reports in Dext Prepare using the documents you’ve already submitted in the Cost Workspace by:
- Clicking on the Costs Inbox.
- Select the items you want to add to your new expense report using the checkboxes down the left-hand side of the page.
- Click the Add to expense report button in the toolbar.
- Specify your settings for the following:
- The Account User who submitted these transactions;
- The end date;
- The name of the expense report.
- Click Add.

Your expense report will now be visible in the Expense Reports section of your account. Easy!
For more information on Expense Reports, take a look here.
Remember: you can find a lot more information on our Help Centre. If you need any technical support, our team is available 24 hours a day Monday-Friday. You can contact us via live and offline chat, email, social media or directly from your app.